Excavators are indispensable in the construction and mining industries, known for their robust performance and versatility. A critical component of these machines is the final drive, responsible for transmitting power from the engine to the tracks, allowing the excavator to move and perform its duties effectively. Identifying a faulty final drive early on is crucial to prevent downtime and costly repairs. This blog provides a comprehensive guide on how to identify issues with your final drive, detailing the signs, diagnostic procedures, and relevant data to help maintain your excavator in optimal condition.
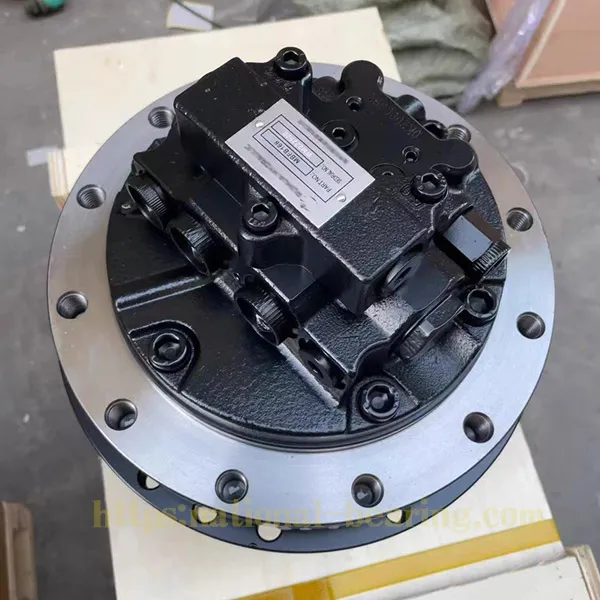
The final drive in an excavator is a complex assembly that converts the hydraulic energy generated by the engine into mechanical energy to drive the tracks. It typically consists of a hydraulic motor, a series of gears (usually planetary gears), an output shaft, and various seals and bearings. This component is crucial for the mobility and efficiency of the excavator.

Identifying a faulty final drive involves recognizing several key symptoms that indicate potential issues. Here are the most common signs:
Diagnosing a faulty final drive requires a systematic approach, involving visual inspections, performance tests, and sometimes more advanced diagnostic tools.
To effectively identify a faulty final drive, follow these detailed steps:
Understanding the data and specifications of your excavator’s final drive is crucial for accurate diagnosis and maintenance. Here are some key specifications:
The final drive is a critical component of an excavator, essential for its mobility and performance. Identifying a faulty final drive involves recognizing symptoms such as unusual noises, performance issues, and visible signs like oil leaks and metal shavings. A systematic diagnostic approach, including visual inspections, performance tests, and advanced diagnostics, is crucial for accurate identification and timely maintenance. By following the detailed operation steps outlined in this blog, operators can ensure their excavators remain in optimal condition, reducing downtime and extending the machinery’s lifespan.
The first signs of a faulty track drive typically include unusual noises such as grinding or knocking, reduced power during operation, and visible oil leaks around the final drive.
When diagnosing issues with your excavator’s track drive, being vigilant about early warning signs can save you from extensive downtime and costly repairs. The first indicator of a faulty track drive is often unusual noises. Grinding or knocking sounds emanating from the final drive area are telltale signs of internal issues. These noises usually stem from worn or damaged gears and bearings, which can result from insufficient lubrication or contamination within the system.
Another early sign is a noticeable reduction in power during operation. If the excavator struggles to move or experiences sluggish performance, this could indicate that the final drive components are not functioning correctly. This reduction in power may be due to internal wear or damage to critical components such as the planetary gear system or the hydraulic motor.
Visible oil leaks around the final drive are also a common early symptom of a faulty track drive. Leaks can occur due to damaged seals or gaskets within the drive, which may be caused by wear and tear or physical damage. Oil leaks not only indicate a problem but can also lead to further complications, such as contamination of internal components and inadequate lubrication, which exacerbate wear.
The track drive should be inspected regularly, with visual checks every 250 hours of operation and more detailed inspections, including oil analysis and hydraulic pressure tests, every 1,000 hours.
Regular inspection of the track drive is crucial for maintaining the performance and longevity of your excavator. Conducting visual inspections every 250 operational hours allows for early detection of potential issues such as leaks, loose components, and abnormal wear. During these inspections, check for signs of oil leakage, unusual noises, and any physical damage to the drive components.
More detailed inspections should be conducted every 1,000 hours of operation. These should include oil analysis and hydraulic pressure tests. Oil analysis involves taking a sample of the hydraulic fluid from the final drive and testing it for contamination and wear particles. This analysis can provide insight into the internal condition of the drive, indicating whether components are wearing prematurely or if there is contamination that could lead to failure.
Hydraulic pressure tests are essential to ensure that the final drive is operating within the specified parameters. Low hydraulic pressure can indicate internal leaks or damage, which can affect the performance of the track drive. By conducting these tests regularly, you can identify and address issues before they lead to significant failures.
Depending on the severity of the damage, a faulty track drive can sometimes be repaired by replacing worn components such as gears and bearings. However, severe damage may require a complete replacement of the final drive.
The decision to repair or replace a faulty track drive depends on the extent of the damage. Minor issues, such as worn bearings or seals, can often be repaired without the need for complete replacement. Replacing these components can restore the track drive’s functionality and extend its lifespan. Routine maintenance and timely repairs of worn parts can prevent further damage and reduce the likelihood of catastrophic failure.
However, if the track drive has suffered severe damage, such as significant wear to the planetary gears, hydraulic motor, or housing, a complete replacement may be necessary. Extensive damage often results from prolonged operation without adequate maintenance or addressing early warning signs. In such cases, the cost and effort required to repair the drive may be comparable to or even exceed the cost of a new unit.
When deciding whether to repair or replace the track drive, consider factors such as the age of the equipment, the extent of the damage, and the availability of replacement parts. Consulting with a professional technician can also provide valuable insights into the best course of action. Ultimately, ensuring that the final drive is in good working condition is essential for the efficient operation and longevity of your excavator.